Google Drive
Google Drive is a file storage and synchronization service developed by Google. Launched on April 24, 2012, Google Drive allows users to store files in the cloud (on Google’s servers), synchronize files across devices, and share files. In addition to a web interface, Google Drive offers apps with offline capabilities for Windows and macOS computers, and Android and iOS smartphones and tablets. Google Drive encompasses Google Docs, Google Sheets, and Google Slides, which are a part of the Google Docs Editors office suite that permits collaborative editing of documents, spreadsheets, presentations, drawings, forms, and more. Files created and edited through the Google Docs suite are saved in Google Drive.
Install Dependencies
First, I’m using Linux Ubuntu, but I think this tutorial will work with other distribution too. This tutorial using Google Drive Ocamlfuse and renameutils, so we install that dependencies first.
| |
Setting Google Drive Ocamlfuse
After installing Google Drive Ocamlfuse, The first time, you can run google-drive-ocamlfuse without parameters:
| |
This command will create the default application directory ($HOME/.gdfuse/default), containing the configuration file config (see the wiki page for more details about configuration). And it will start a web browser to obtain authorization to access your Google Drive. This will let you modify default configuration before mounting the filesystem.
Then you can choose a local directory to mount your Google Drive (e.g.: "$HOME/Google Drive").
Create the mount point, if it doesn’t exists:
| |
Then you can mount the filesystem
| |
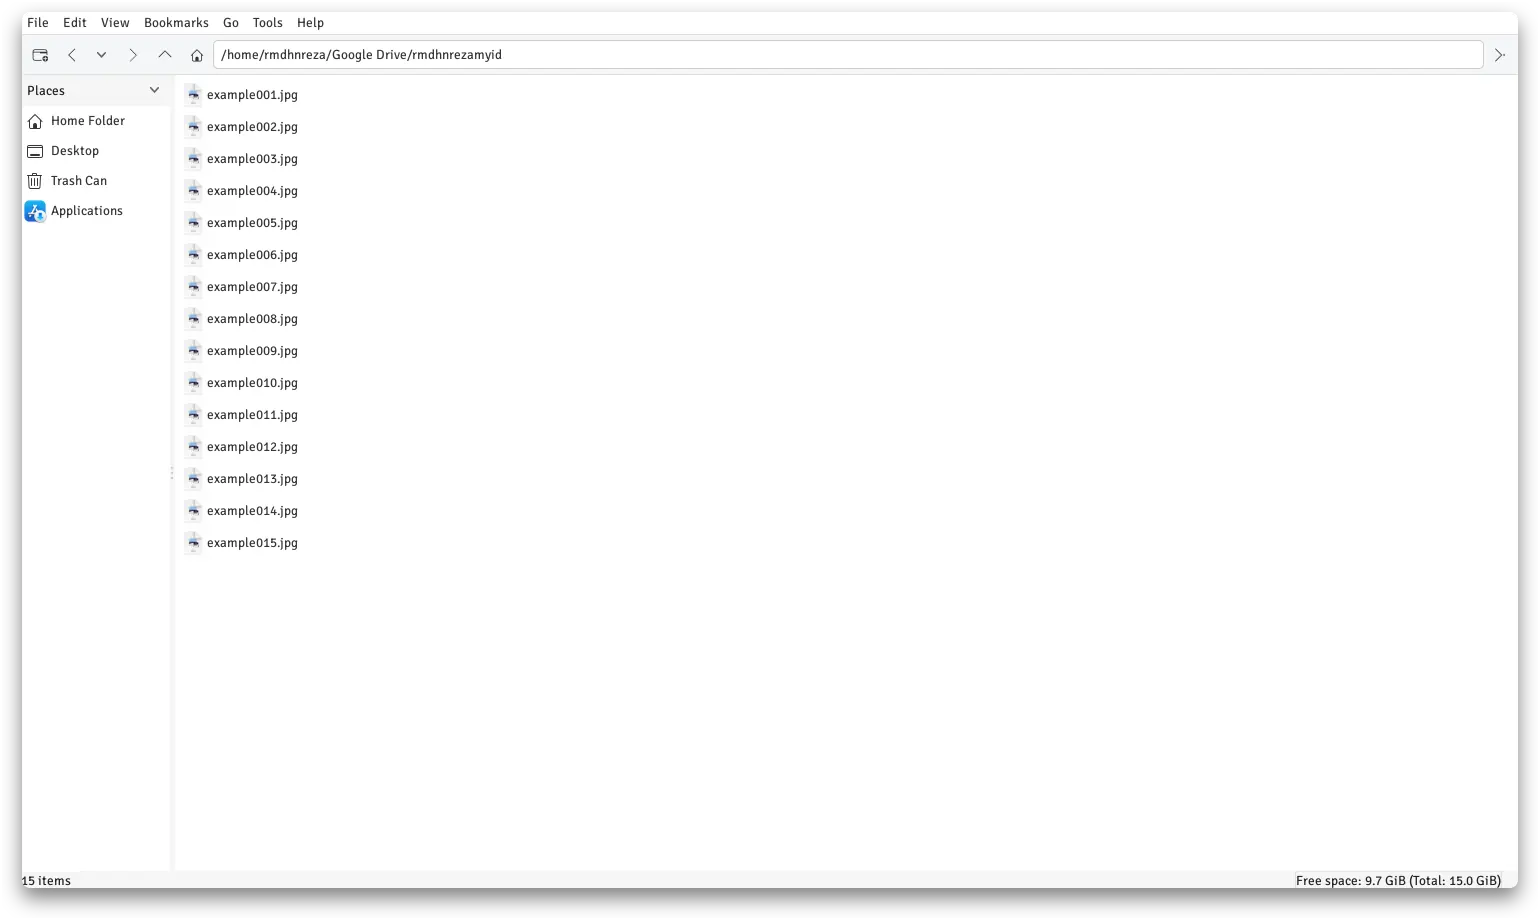
If success, you can access your Google Drive files from file manager.
Bulk Rename
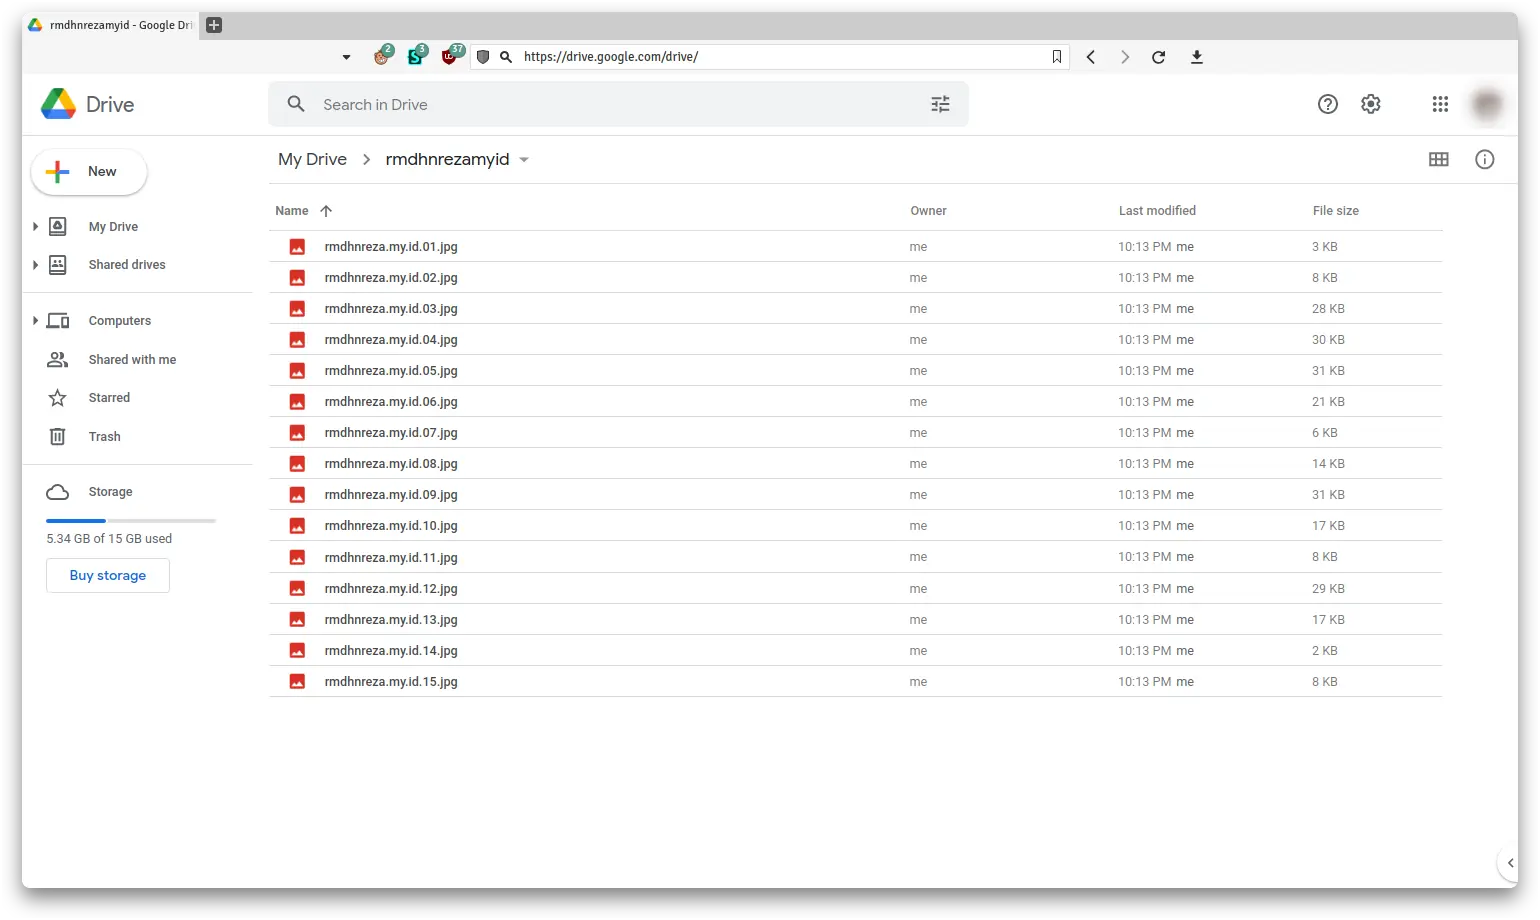
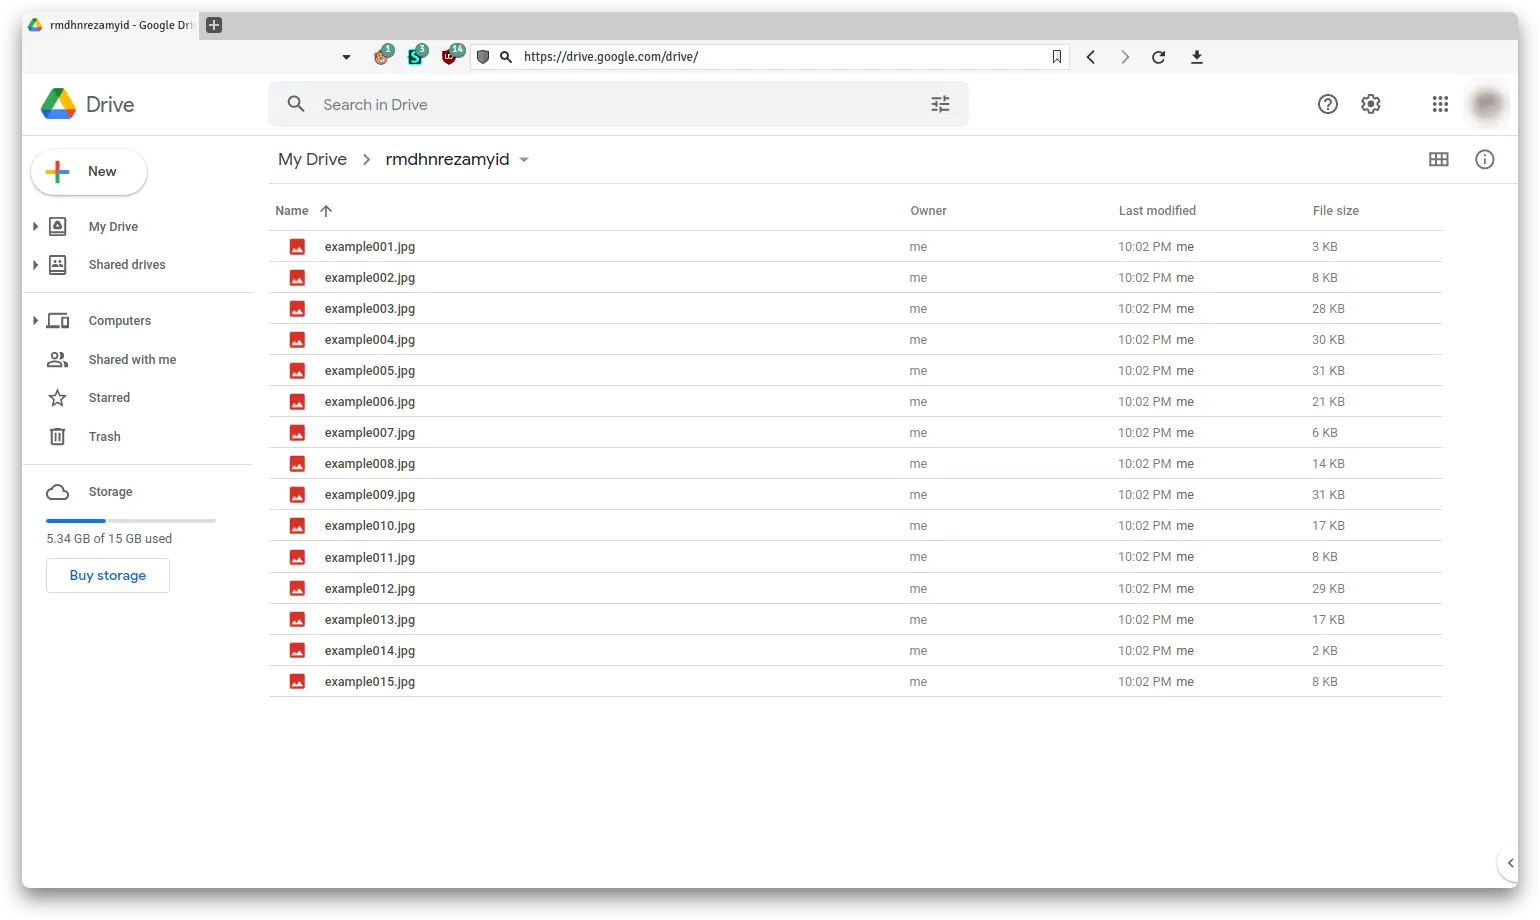
For this example, I will bulk rename inside rmdhnrezamyid folder and inside that folder I have file name like this.
I will change example001.jpg to rmdhnreza.my.id.n.jpg
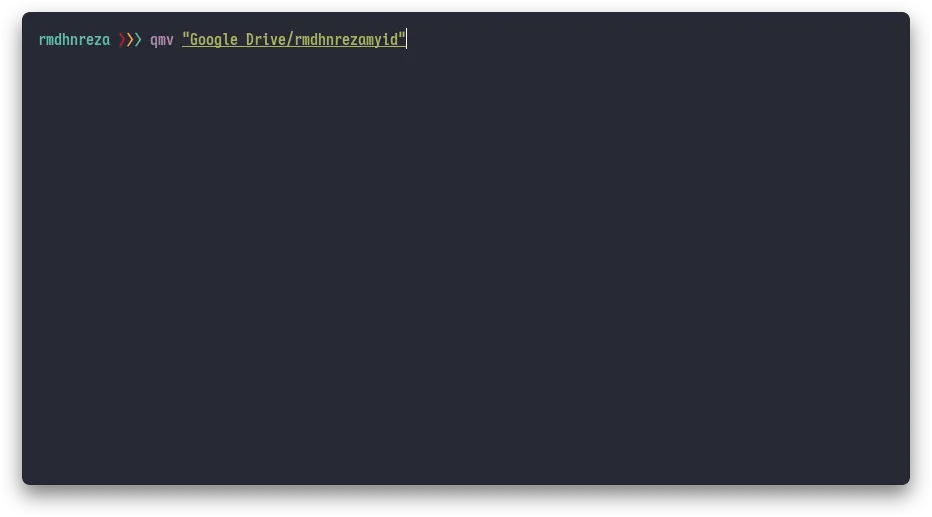
- Open terminal and execute qmv command
qmv mountpoint/folder
| |
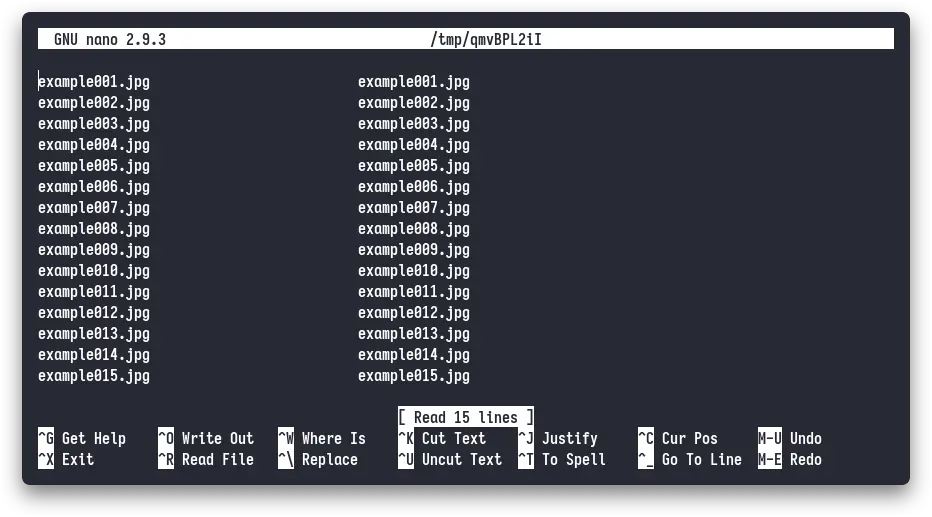
- Output will be like this if you use EDITOR nano
 3. Copy & Paste output from qmv to text editor (I’m using Sublime Text)
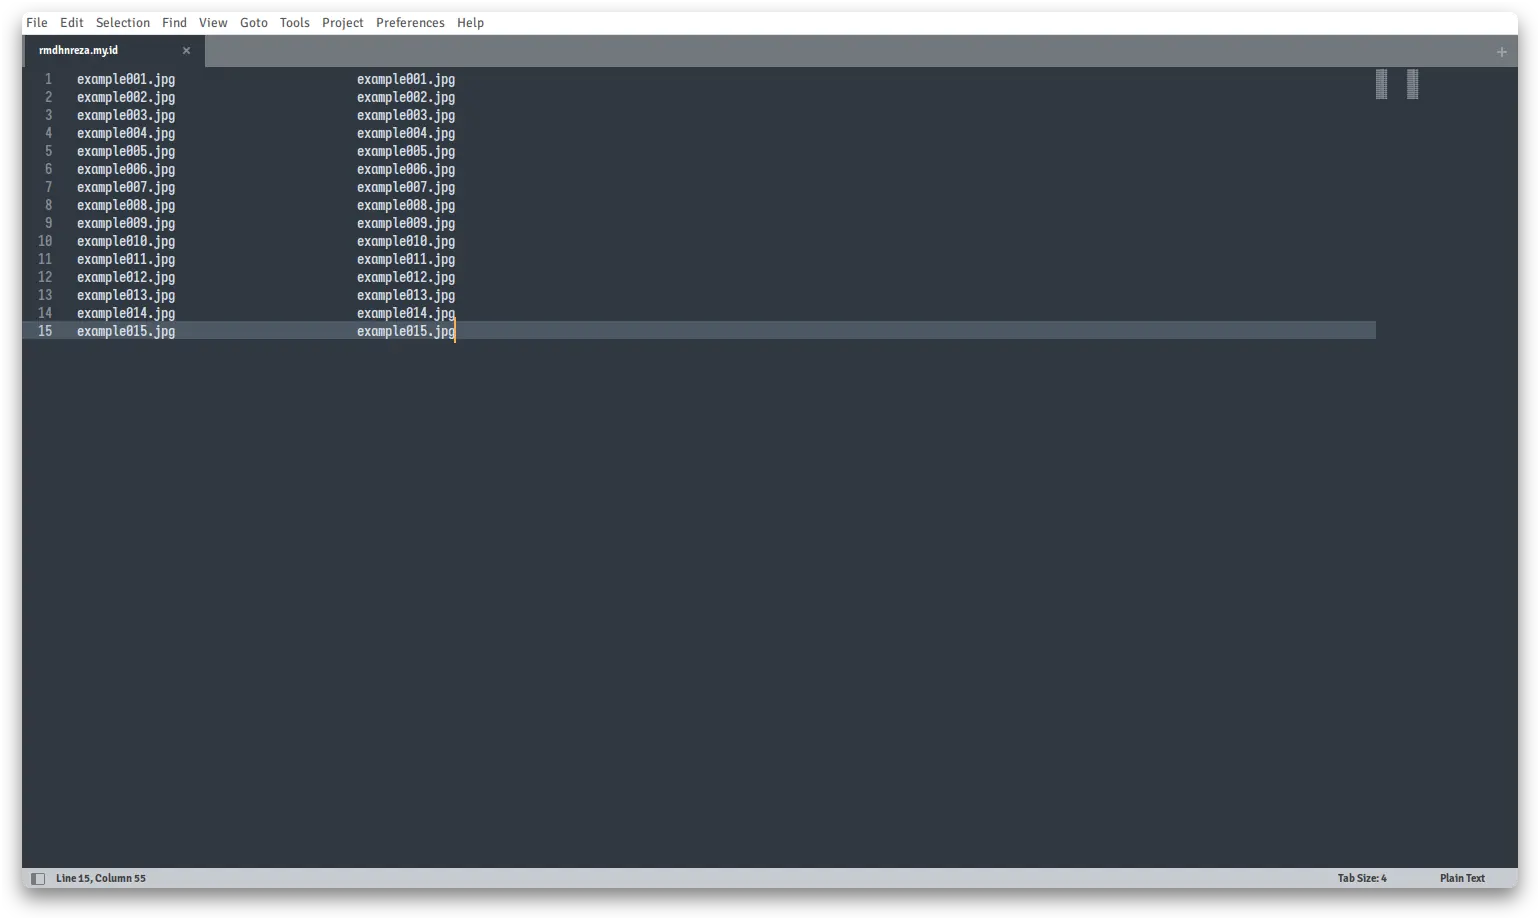 4. Change only on the right side, not left side
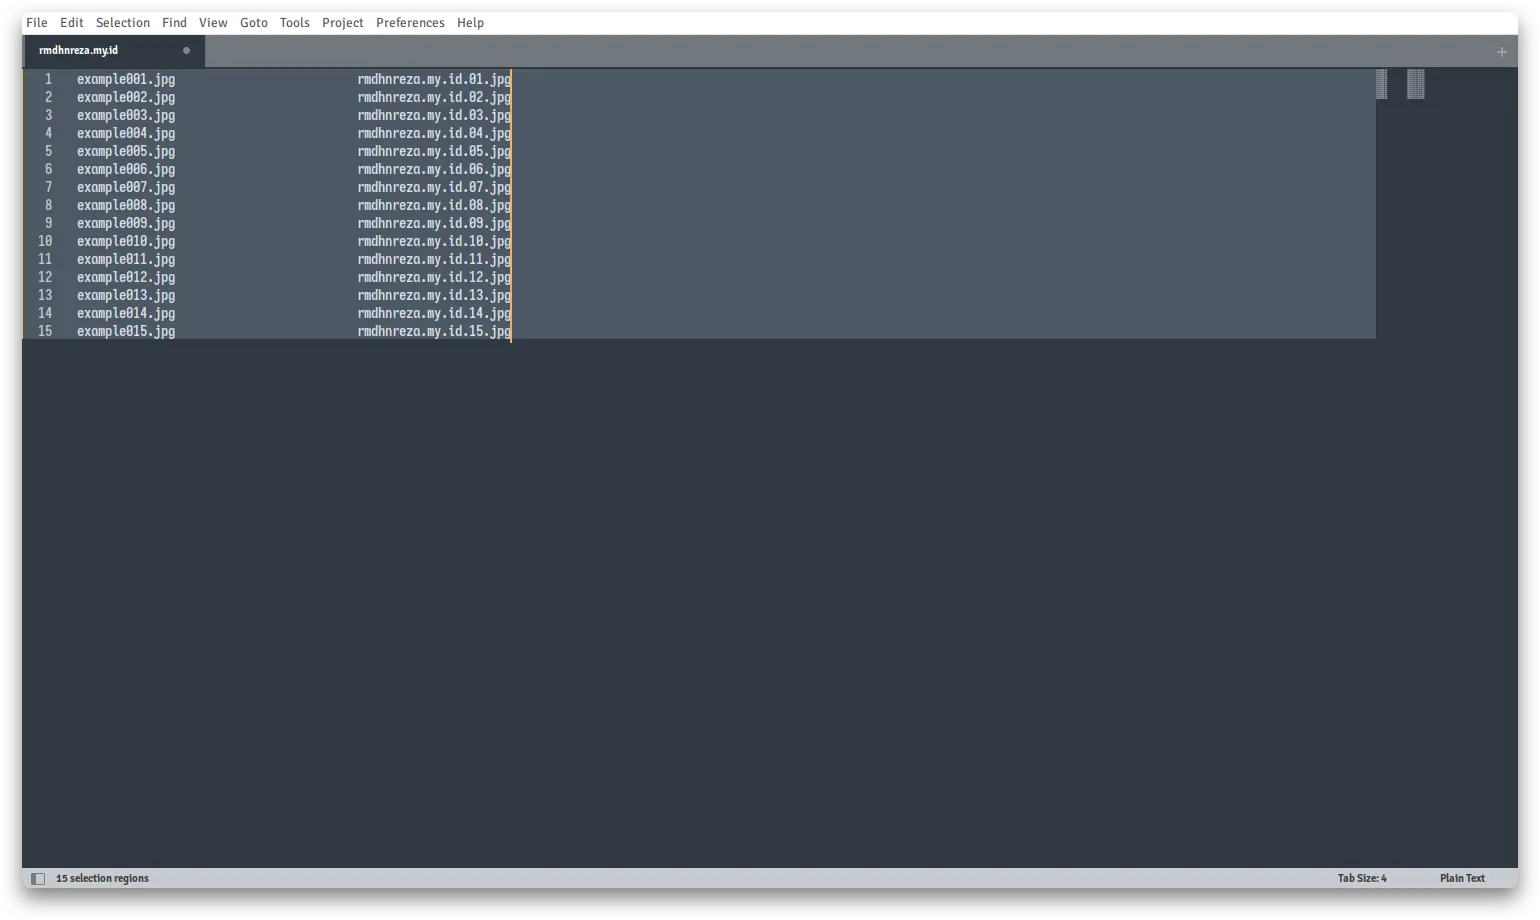 5. After that, replace all output on qmv with your new file name
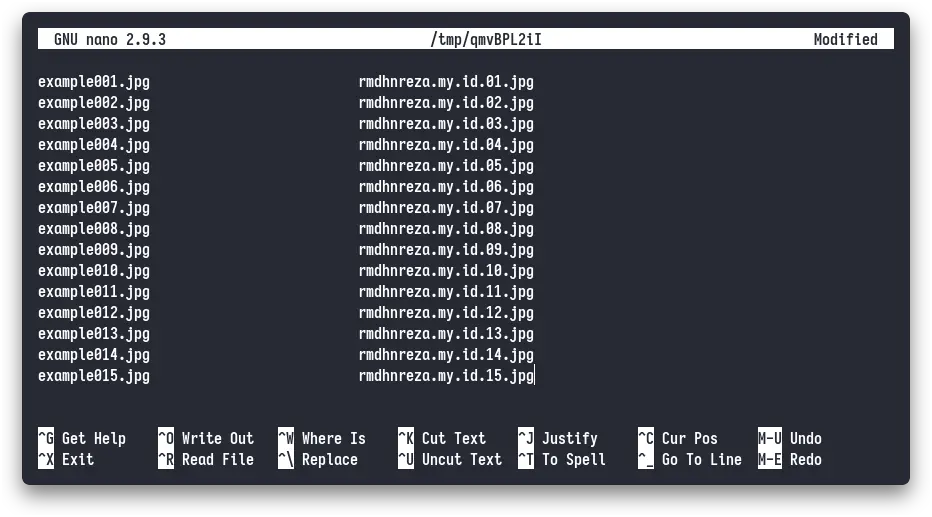 6. Save (
CTRL+O Enter CTRL+X if you’re using nano)
7. Wait until qmv finished rename
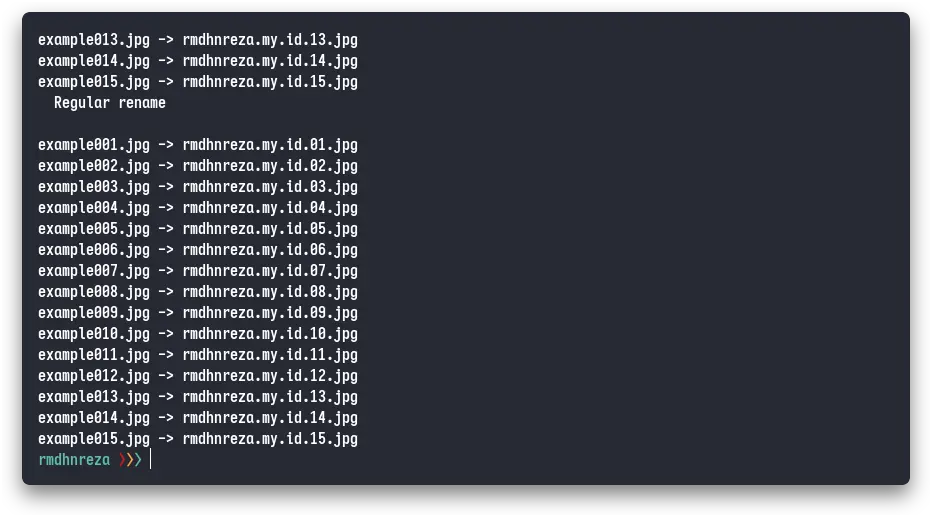 8. Done!